What you will need:
(not provided)
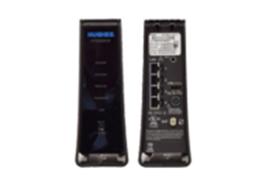
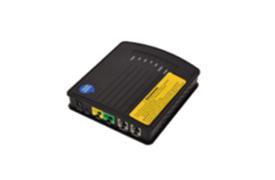
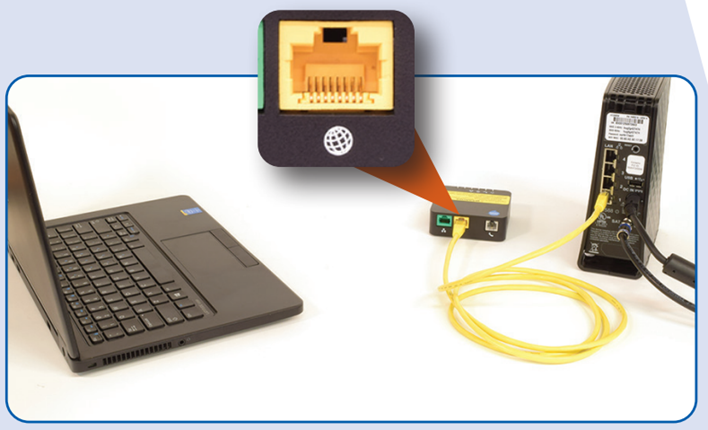
Step 1: Connect ATA to existing Hughesnet modem
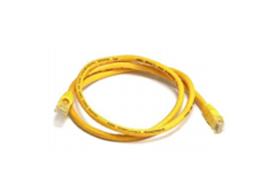
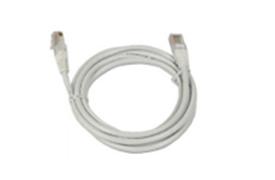
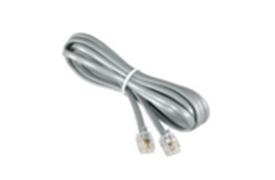
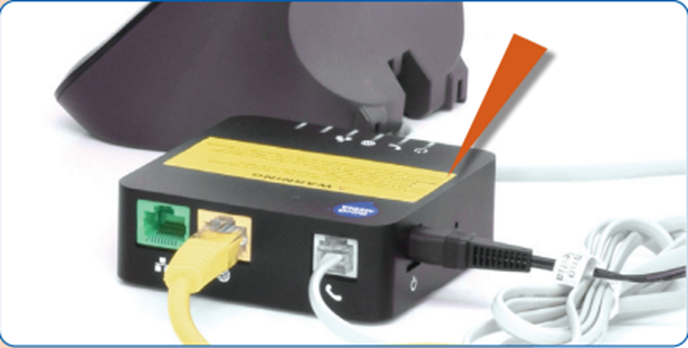
Step 2: Connect your telephone cable to the phone port on the ATA
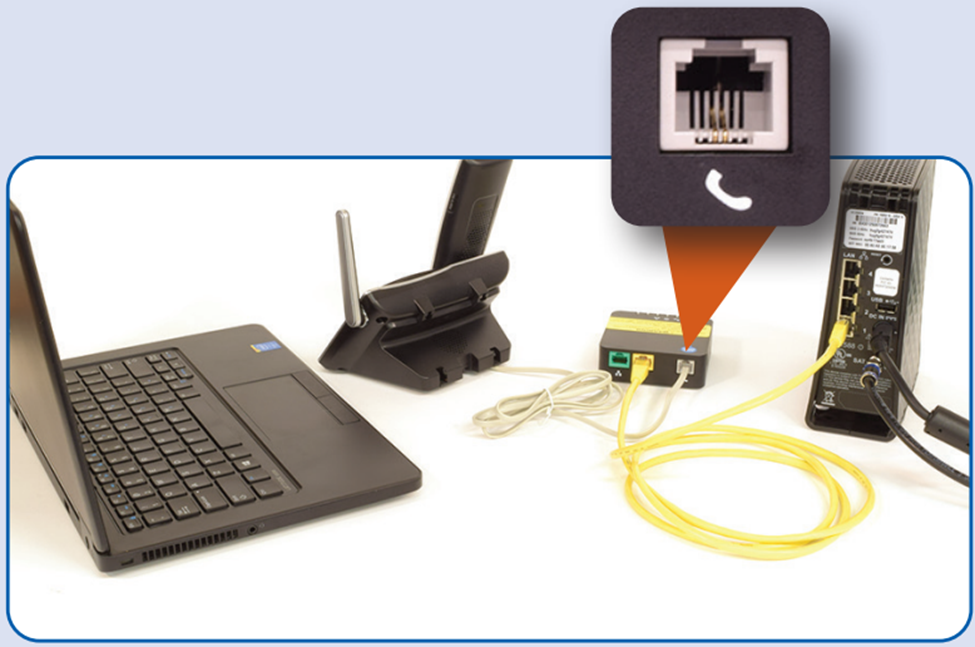
Step 3: Plug in the power cable to the ATA. Please review your connections below:
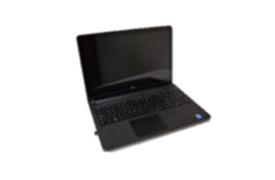
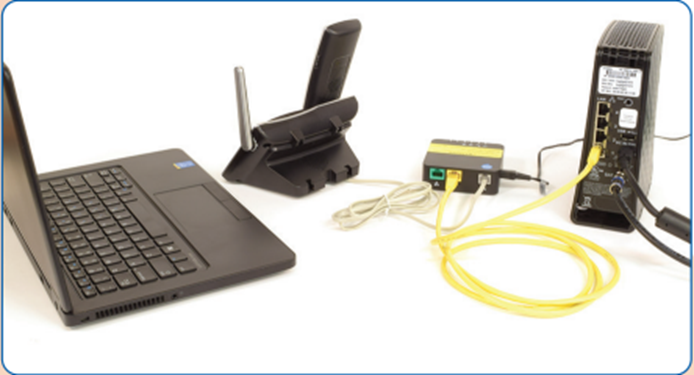
Step 4: Review connections – your configuration will vary based on your home computing device (laptop, desktop, mobile)
Make sure the power LED and the globe LED turn green, before proceeding to activate your Hughesnet Voice service.
Click here to access the quick start guide